Diff Workflow
Overview
The "Diff" workflow lets you compare two VIM files to identify what was removed, added, or modified.
These VIM files could represent two distinct design options, or two different snapshots of your model in time, like last week's version and this week's version.
How to Diff
Please follow the instructions below to compare two VIM files.
-
Please ensure VIM Flex has been upgraded with valid license key.
-
In the top menu bar, go to "Workflow" > "Diff".
-
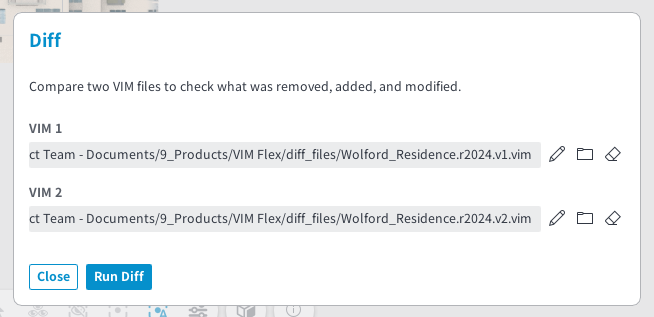
Click on the pencil buttons to set VIM 1 and VIM 2.
If you are comparing model versions over time, set VIM 1 to the previous version and VIM 2 to the latest version.
-
Click on the "Run Diff" button.
-
Once completed, click and drag the separator line to visually compare the VIM files.
- Removed
-
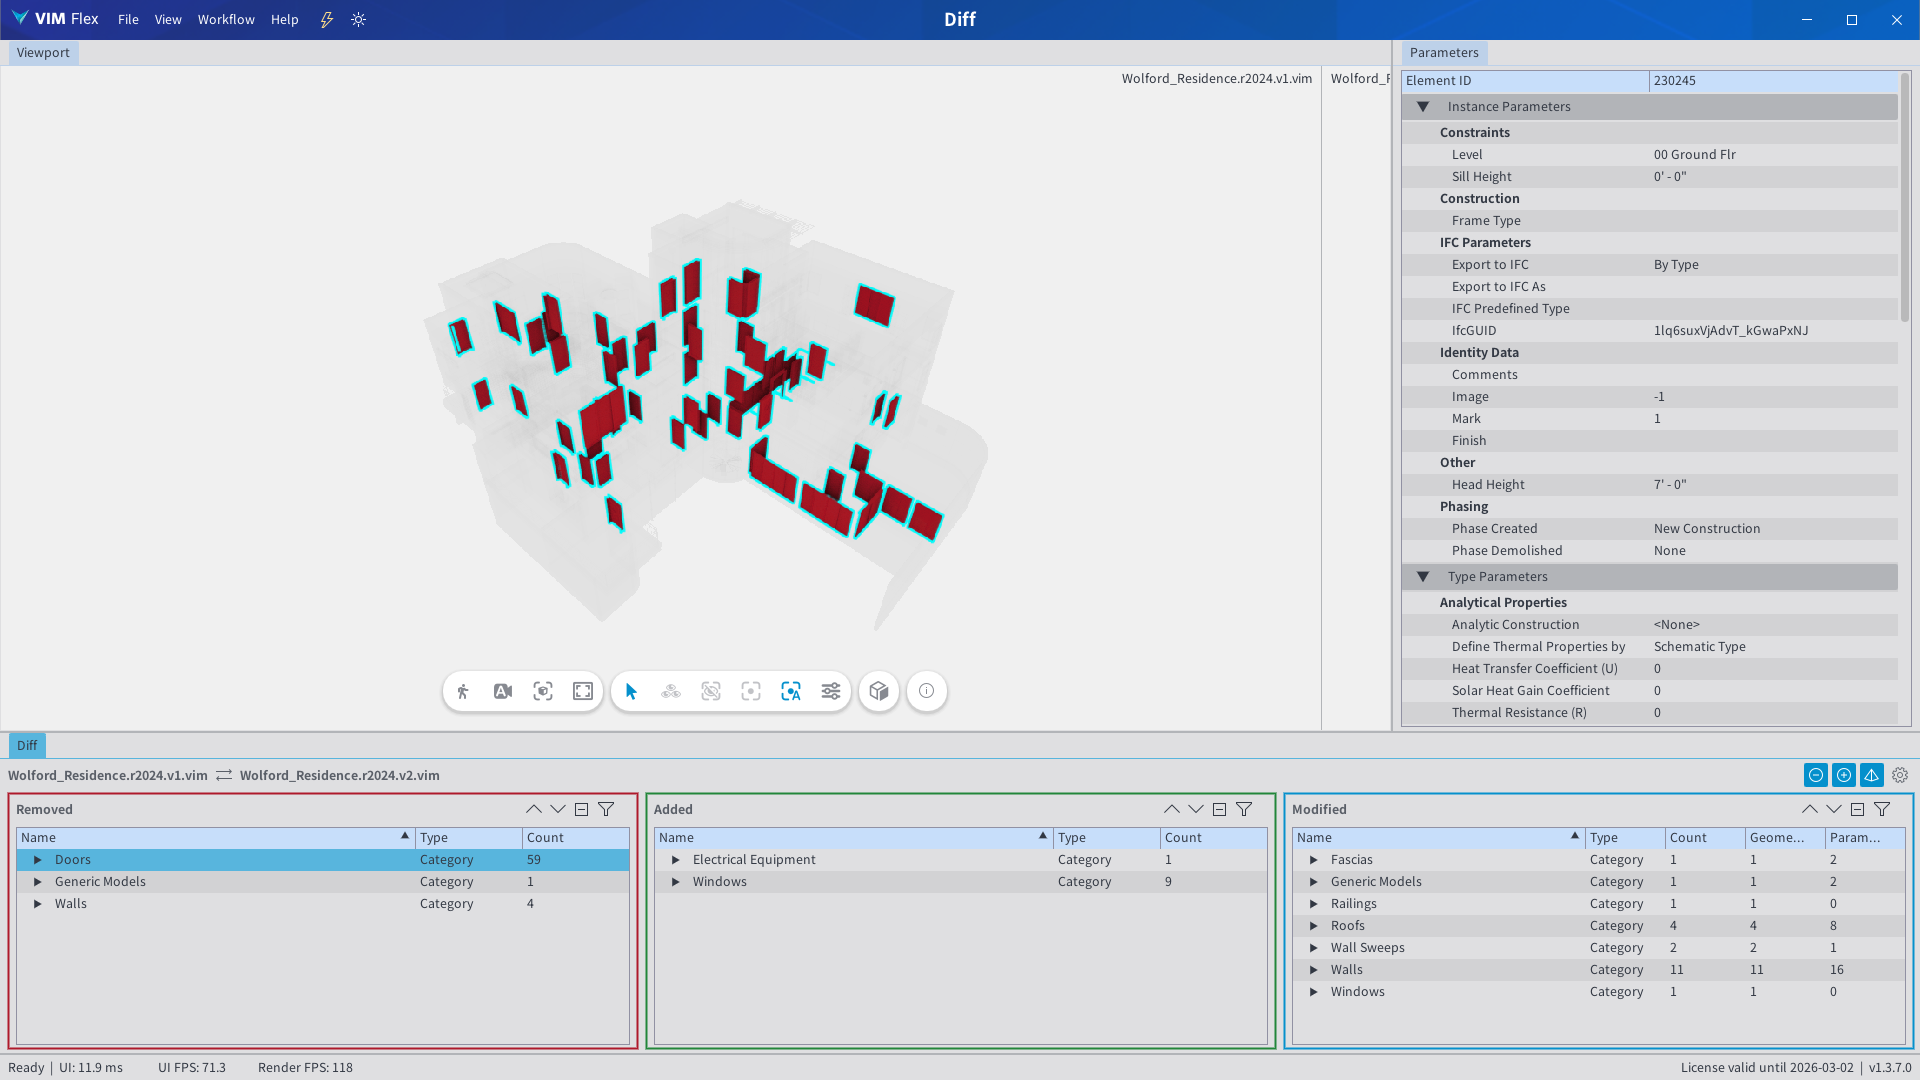
Click on the items in the "Removed" table to identify what was removed.
-
Elements in the "Removed" table are present in VIM 1 but not in VIM 2.
+ Added
-
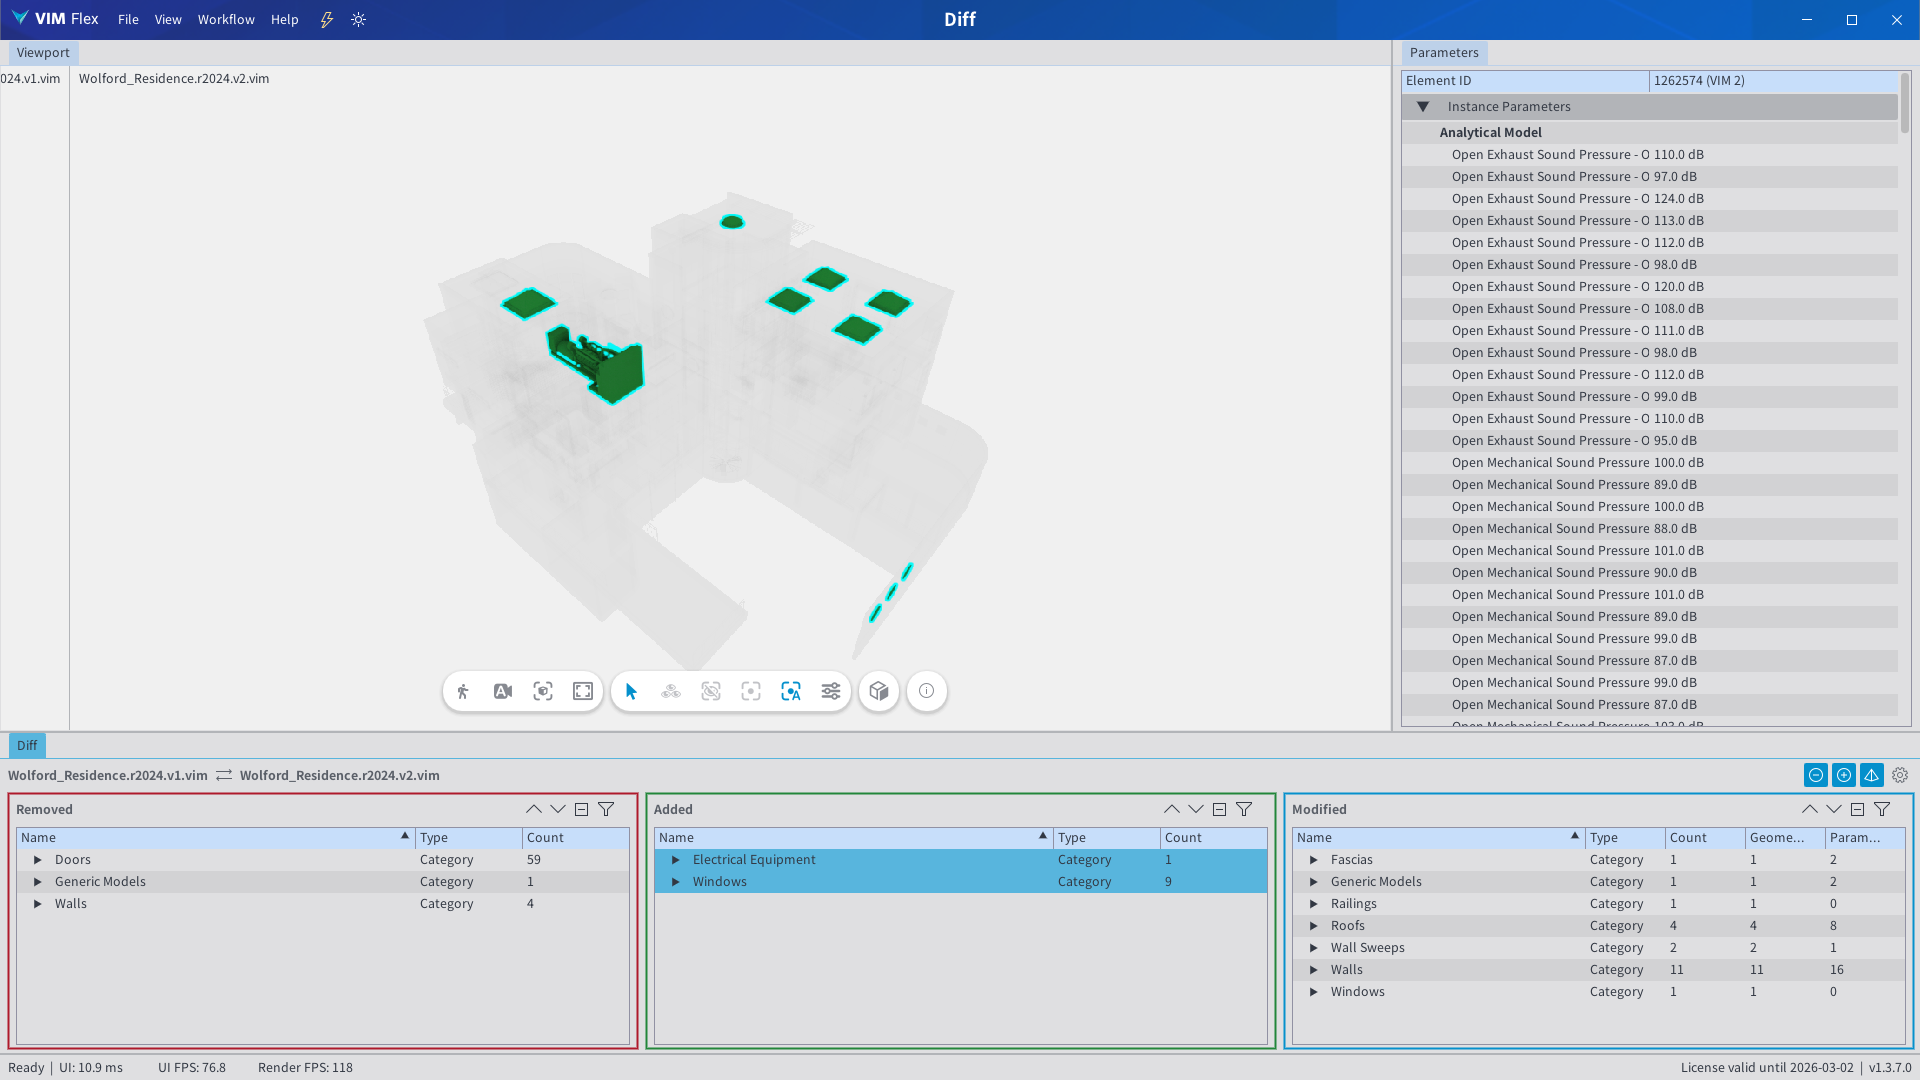
Click on the items in the "Added" table to identify what was added.
-
Elements in the "Added" table are present in VIM 2 but not in VIM 1.
~ Modified
-
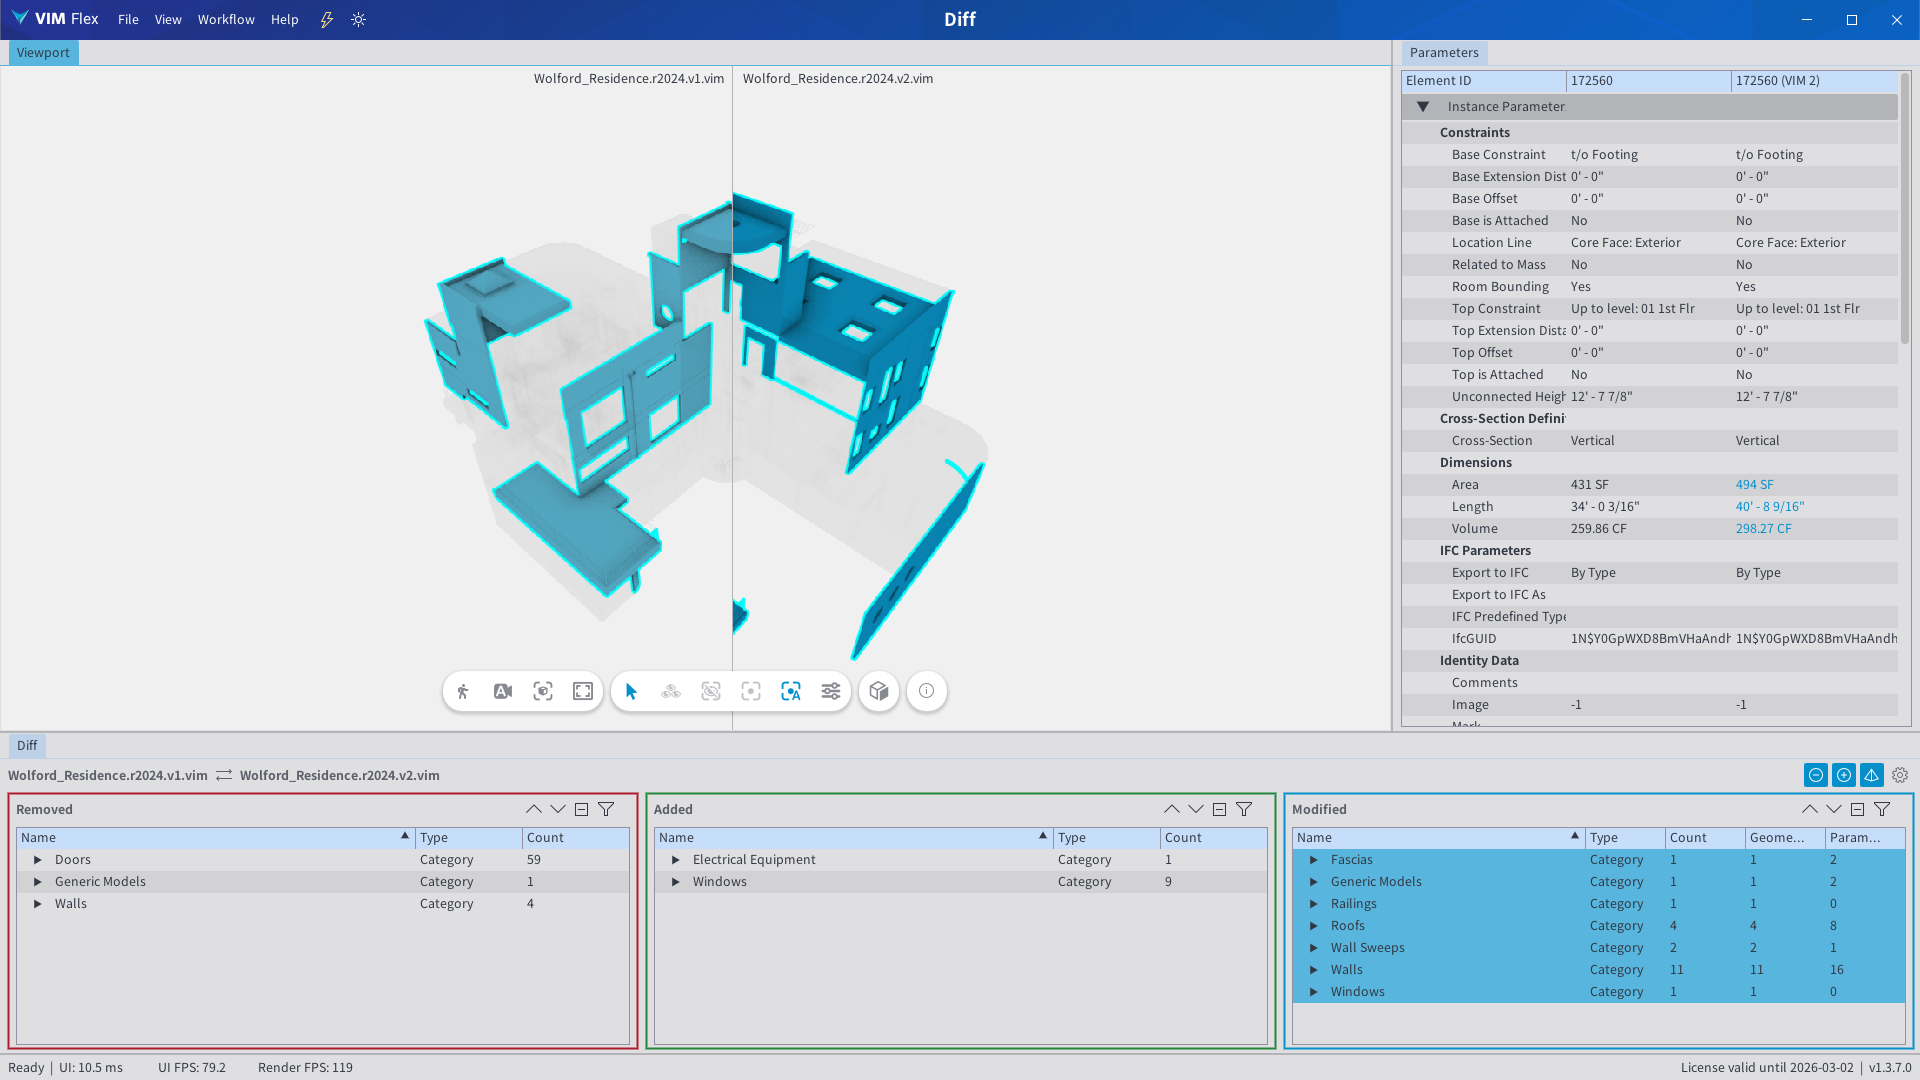
Click on the items in the "Modified" table to identify what was modified.
-
Elements in the "Modified" table are present in both VIM 1 and VIM 2, and contain a change to either (or both):
-
Geometry - the element mesh has changed or has been moved.
-
Properties - at least one property value has changed. Property changes are displayed in blue in the Properties tab.
-
What are we Comparing?
The Diff workflow uses each element's UniqueId as the common comparison key between two VIM files. This value persists between file saves in Revit, and Navisworks (and IFC depending on the software) and is stored in the VIM file upon export.
Two completely unrelated VIM files which have no common element UniqueId values will appear as entirely removed and entirely added.